Introducing Backup Manager XP: Unraveling the Mysteries of Veeam Backup Manager XP Errors
File details and purpose of backupmanagerxp.exe
The backupmanagerxp.exe file is associated with Veeam Backup Manager XP, a program developed by Veeam Software. It is located in the C:Program FilesVeeamBackup folder on Windows 10 operating systems. The purpose of this file is to manage and execute backup and replication processes for Veeam Backup Manager XP.
It is important to note that the backupmanagerxp.exe file is not a system file and should not be deleted or tampered with. Deleting or modifying this file can cause errors and issues with the Veeam Backup Manager XP program.
If you encounter any errors or problems related to the backupmanagerxp.exe file, it is recommended to check the file details and ensure that it is not infected with a virus. You can use tools like System Explorer or Task Manager to gather more information about the file, such as the MD5 checksum.
For additional assistance or troubleshooting, it is recommended to consult the Veeam Backup Manager XP documentation or reach out to Veeam Software’s support team.
Is backupmanagerxp.exe safe or a potential threat?
BackupManagerXP. exe is the executable file for Veeam Backup Manager XP. It is an important component of the Veeam Backup Manager XP software and is not a potential threat. This file is necessary for the proper functioning of the program and should not be removed or disabled. If you encounter any errors or issues with BackupManagerXP.
exe, it is recommended to check for any driver issues or conflicts, as well as ensuring that the software is up to date. It is always a good practice to regularly backup your files and ensure that you have a reliable backup solution in place.
Common errors associated with backupmanagerxp.exe
- Check for Software Updates
- Open the Backup Manager XP application.
- Click on the “Help” or “About” tab.
- Look for an option to check for updates.
- If an update is available, download and install it.
- Restart the Application
- Close the Backup Manager XP application completely.
- Open the Task Manager by pressing Ctrl+Shift+Esc.
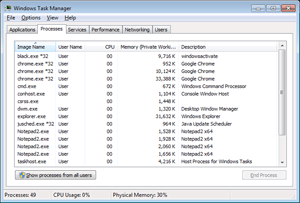
- In the “Processes” tab, locate and select the backupmanagerxp.exe process.
- Click on the “End Task” or “End Process” button to terminate the process.
- Reopen the Backup Manager XP application.
- Scan for Malware
- Install and open a reputable antivirus or anti-malware program.
- Select the option to perform a full system scan.

- Allow the scan to complete and follow any prompts to remove any detected malware or viruses.
- Restart your computer after the scan is finished.
- Reinstall Backup Manager XP
- Open the Control Panel on your computer.
- Click on “Programs” or “Programs and Features”.
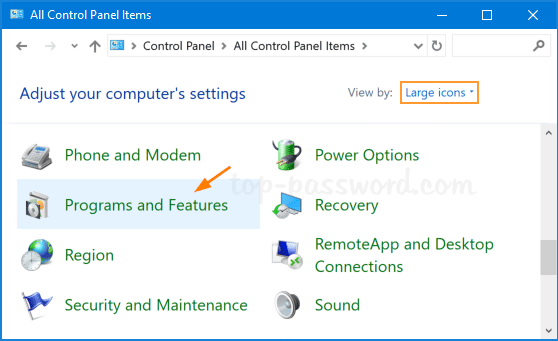
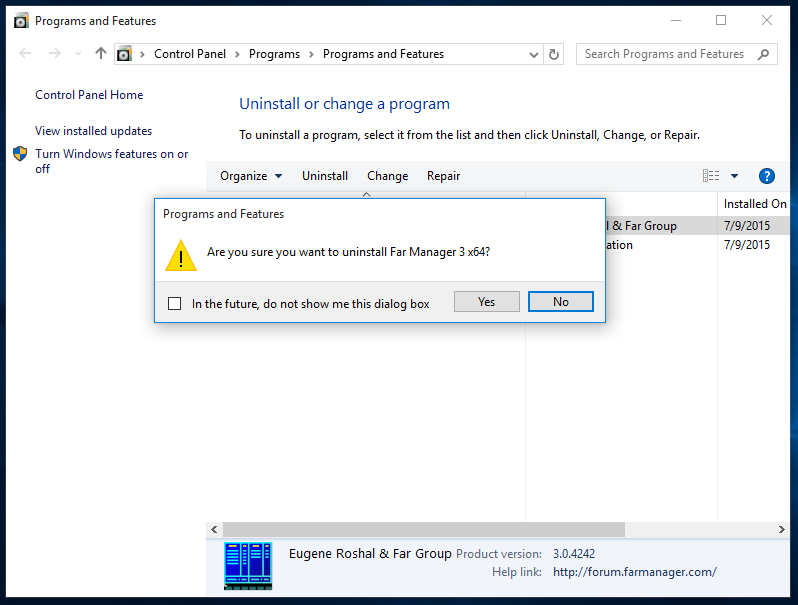
- Locate Backup Manager XP in the list of installed programs.
- Select Backup Manager XP and click on the “Uninstall” button.
- Follow the on-screen prompts to uninstall the application.
- Download the latest version of Backup Manager XP from the official website.
- Run the downloaded installer and follow the installation instructions.
python

import shutil

import os

from datetime import datetime
def backup_directory(source_dir, destination_dir):
timestamp = datetime.now().strftime("%Y%m%d_%H%M%S")
backup_dir = os.path.join(destination_dir, f"backup_{timestamp}")
try:
shutil.copytree(source_dir, backup_dir)
print(f"Backup created successfully: {backup_dir}")
except Exception as e:
print(f"Backup creation failed: {str(e)}")
# Example usage
source_directory = "/path/to/source/directory"
destination_directory = "/path/to/destination/directory"
backup_directory(source_directory, destination_directory)
In the above code, we utilize the `shutil` module from the Python standard library to perform the backup operation. The `backup_directory` function takes a source directory and a destination directory as input. It creates a new backup directory with a timestamp in the destination directory and copies the entire source directory to the backup directory.
Please note that this code is a simple illustration and may not cover all the requirements or edge cases of a comprehensive backup manager tool. Additional features like incremental backups, compression, scheduling, or file versioning could be incorporated depending on your specific needs.
How to repair or remove backupmanagerxp.exe if necessary
If you need to repair or remove backupmanagerxp.exe, here are some steps you can follow:
1. First, make sure you have administrative privileges on your computer.
2. Open the Windows Task Manager by pressing Ctrl+Shift+Esc.
3. Look for any instances of backupmanagerxp.exe or related processes, such as BackupManagerTray.exe.
4. Right-click on the process and select “End Task” or “End Process”.
5. Navigate to the location where backupmanagerxp.exe is stored, typically in C:Program FilesVeeamBackup Manager XP.
6. If you want to repair the file, you can try using a system file checker tool like System Explorer or using the Windows built-in tool called “sfc /scannow” in the command prompt.
7. If you want to remove the file, simply delete it from its location.
8. It’s always a good idea to scan the file with an antivirus program to ensure it is not a virus or malware.
9. Restart your computer to apply the changes.
Remember, always be cautious when making changes to system files, and make sure to back up your important data before attempting any repairs or removals.